As the focal visual anchor and functional workhorse of the kitchen, a backsplash endures daily wear-and-tear from cooking, cleaning, and general use.
Properly grouting the backsplash tiles is essential not only for an seamless appearance blending the tiles, but also to protect the underlying wall from moisture and damage over time.
Achieving an artful balance between removing excess grout while leaving enough material packed into the joints makes all the difference in backsplash longevity.
By understanding what type of grout suits which tile application, its curing requirements, and tips for technique, engineers can ensure excellent backsplash performance.

What is Backsplash Grouting?
Grouting involves filling the open joints between backsplash tiles with a cement-based material to bind them together visually and structurally.
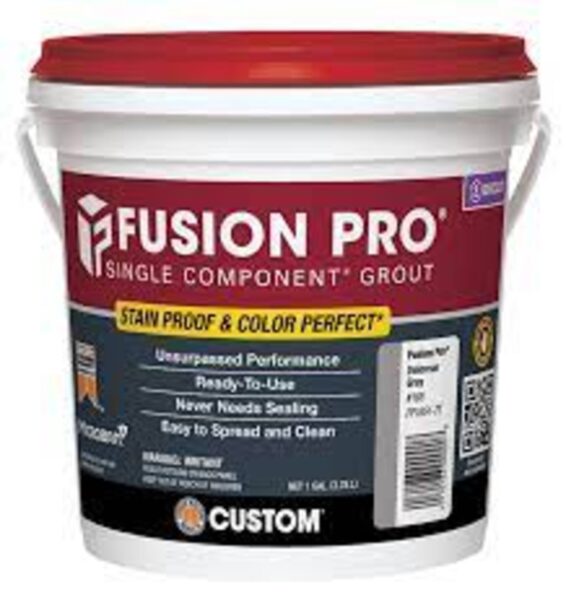
Grout types commonly used include unsanded (for narrow joints) or sanded grouts that contain fine aggregates. When applied correctly between the tile edges, grout adheres to create a water-resistant surface.
How to Apply Grout for Backsplashes
- Before grouting, allow recommended drying time for thinset mortar adhesive beneath tiles.
- Apply grout by holding a rubber float at a 45° angle, pressing into joints in a circular motion.
- Removing excess grout requires an artful balance – too little left behind risks voids while overworking can pull grout back out.
- Once semi-dry, use minimal, light strokes diagonally across joints to smooth.

Sanded vs. Unsanded Grout Considerations
Smaller tile and glass tile require unsanded grout with finer consistency to fill narrow backsplash joints.
Larger tiles pair better with sanded grout containing aggregates. However, if joints are less than 1/8”, sanded grout risks cracking and failure over time from backsplash movement.
The mix design must suit the application.
Grout Selection Criteria
- Durability for the backsplash environment is paramount.
- Epoxy grouts offer enhanced adhesion, resistance to staining/chemicals and less shrinkage.
- Flexible grout contains latex additives to prevent cracking.
- Colored grout resists showing dirt or stains versus plain white.
- All types require sealing for maximum performance.
Curing and Sealing Best Practices
Allow 72 hours for grout to fully cure before sealing to prevent sealant trapping moisture inside.
Using high-quality grout sealer formulated for backsplash use will protect against penetration of liquids and staining.
Re-apply sealer at manufacturer recommended intervals.
best grout materials for backsplash
- Epoxy Grout – Epoxy grouts are extremely durable, stain-resistant, and waterproof. They are great for backsplashes because they resist damage from grease, acids, and hot liquids. Epoxy grouts also come in a wide range of colors.
- Polymer-Modified Grout – This contains polymers that make it more flexible and reduce shrinking and cracking. The added flexibility allows it to handle the movement that can occur with backsplashes over time. It also repels water and resists staining.
- Sanded Grout – For joints 1/8 inch and larger, a sanded grout is an excellent choice. It will resist cracking and hold up well to backsplash use. Just ensure the sand aggregate is fine to work well with smaller tile joints.
- Unsanded Grout – For narrow grout lines under 1/8 inch, an unsanded grout flows better into small spaces and cures smooth. It works well with glass, mosaic, and other backsplash tiles with tight joints.
- Elegance Grout – This unique grout formula combines the best features of both epoxy and polymer grouts. It has strong adhesion, durability, stain protection with some flexibility against cracking.
conclusion
Understanding characteristics of grout types is imperative for civil engineers to recommend products suitable for backsplash applications.
When paired with proper tile preparation, spacing, application and sealing, grout completes the backsplash as both a functional and visually-appealing design element.


