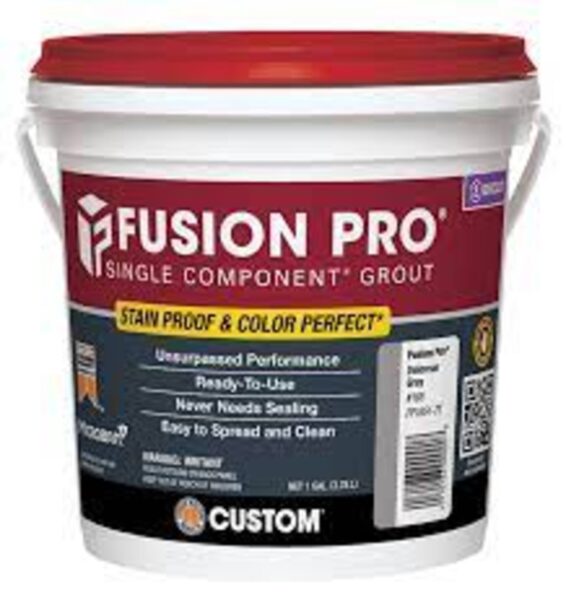
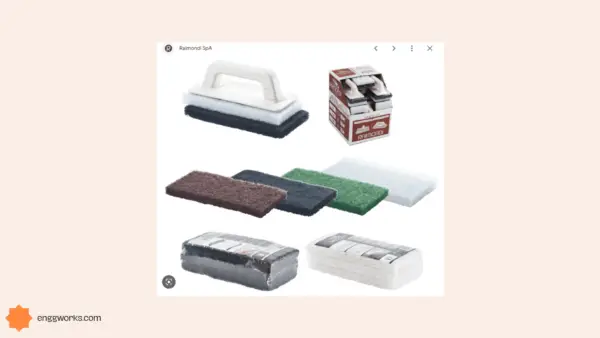
Grouting bathroom floors is a crucial step in any tile installation.
Properly grouted joints make an impenetrable seal that prevents moisture from penetrating and damaging subflooring – vital in an area that sees heavy use and wet conditions.
But ensuring durable, crack-free grout that remains vivid over time requires precise techniques too often rushed through.
Yet do-it-yourself guidelines for a flawless bathroom floor prove surprisingly simple when engineered to account for common grouting mistakes.
Following meticulous step-by-step instructions using the right materials at the correct phases of the process leads to professional quality results.
How to Apply Grout to Bathroom Tiles – Step-by-Step Procedure
When tiling a bathroom floor, properly applying grout between the tiles is an important step to create a waterproof seal and finished look.
- First, ensure the tiles have set properly, allowing the tile adhesive to fully cure for 24-48 hours.
- Mix the grout according to the manufacturer’s instructions – typically with water in a bucket.
- The ideal consistency is a thick, peanut butter-like texture. Allow the grout to slake for 5-10 minutes.
- Using a rubber grout float, apply the grout forcefully to fill the joints between tiles.
- Hold the float at a 45° angle and work in small sections of around 20 square feet. Completely pack the joints by scrubbing diagonally across the tiles.
- Once applied, allow the grout to become firm, waiting 10-15 minutes. Then use a damp sponge to wash off excess grout, wiping in a circular motion.
- Rinse the sponge regularly and change the water as needed. Be careful not to pull grout out of the joints.
- Allow the grout to partially dry and become hazy, about 1-2 hours, then polish and seal by wiping diagonally with a soft cloth. Avoid abrasive scrubbing as this may pull out grout.

What Grout is Best for Bathroom Floors
When selecting a grout, consider bathroom conditions – moisture, mould concerns, heavy use.
Epoxy grouts offer waterproofing properties, resisting water penetration.
Urethane grouts have flexibility to prevent cracks from tile movement. Polymer-modified cement grouts include latex additives for increased adhesion and strength.
But standard cement grout works for most applications, especially when sealed properly.
White grout stays cleaner, darker grout shows less dirt.
How to Seal Grout on Bathroom Floor Tiles
Once grout has cured fully (28 days), sealing is important to prevent staining and erosion.
Using a penetrating sealer formulated for grout:
- First clean and dry the grouted floor fully.
- Apply sealer evenly along grout lines using a brush or sponge. Allow sealer to soak in for 5-10 minutes.
- Wipe off all excess sealer with a cloth – completely removing sealer from tile surfaces.
- A second coat may be needed for porous, cementitious grout. Allow sealer to cure overnight before regular use.
- Reapply every 1-2 years.
Best Way to Clean Grout in Bathroom Floor
For routine cleaning, sweep then mop floor using warm water and neutral pH cleaner.
For deeper grout cleaning, use an alkaline-based tile & grout cleaner following label directions.
Allow it to soak briefly then scrub lines with a stiff nylon-bristle brush.
Wipe away residue with water and dry.
Vinegar or hydrogen peroxide solutions also help break down grime in grout pores.
Avoid harsh bleach or ammonia cleaners as these can damage grout over time.

How Long Does it Take for Grout to Dry on Bathroom Floor
Grout drying time depends on thickness, temperature and humidity. Initial set takes 6-8 hours.
At 1/8′′ joints, grout will be walkable within 24 hours, but allow 48-72 hours for full cure.
Setting time accelerates in warm, dry conditions and slows in cold & damp.
Using fans and heat to circulate air can expedite overall cure time if humidity is low, without overly drying the grout.
Tips for Grouting Bathroom Floor Tile
Pro tips for flawless grouted bathroom floors:
- Grout exit pathways first near doorways
- Split large floors into sections for easier manageability
- Change water frequently when washing
- Ensure joints are uniformly packed to prevent weak spots
- Use convex edge grout float to avoid pulling out grout
- Gently polish grout haze once partially set
- Allow proper cure time before sealing & heavy use
Can You Apply New Grout Over Old on Bathroom Floor
It’s best to fully remove all old, failing grout before re grouting bathroom floors.
But if the old grout is still strongly bonded and in good condition (no cracks or missing sections), you can apply fresh grout over top.
First dampen old grout and ensure new grout bonds and fills joints fully. Match grout colors.
This preserves the underlying waterproofing and structural capacity, saving redo time.
What Colour Grout is Best for Bathroom Floor
- Lighter grout stays cleaner looking on bathroom floors.
- White is ideal, though cream and light grey work too.
- Be aware darker grout will show stains, dirt and mould more readily, requiring vigorous cleaning.
- However, newer epoxy/urethane grout resists staining better in darker colors.
- Grout color should match or coordinate with tile color for best aesthetic.
Mistakes to Avoid when Grouting Bathroom Floor
Pitfalls lead to cracked, eroded grout requiring premature replacement. Avoid these errors:
- Using too little water makes dry, weak grout
- Failing to fully pack joints leads to holes
- Washing too soon pulls unset grout from joints
- Not sealing grout leads to deterioration & stains
- Using acidic cleaners damages cementitious grout over time
Conclusion,
Following proper professional techniques for preparing, packing, washing and sealing bathroom floor tile grout leads to a durable, waterproof floor surface able to withstand heavy residential use for years.
Following the engineered techniques outlined, even first-time tilers can achieve professional-quality grouted bathroom floors that stand the test of time.
Paying close attention to joint preparation, tile spacing, optimal grout consistency, application directions, timing of washing and drying, and sealing gives residential floors an impermeable, durable finish able to withstand heavy daily use and humidity.


