Whether you’re installing new tile or repairing old, uneven floors, getting a smooth, flat surface is key to a successful project. This is where self leveling grout comes in handy.
Self leveling grout is a unique type of grout with a pour-able consistency that can flow into dips and depressions in your floor, naturally evening out the surface as it cures. Because it levels itself, you avoid the hassling of trying to manually force grout into low spots with a float or trowel.
Self leveling grout consists of Portland cement, fine sand, and latex polymers. The polymers make it highly flowable and allow it to spread out without needing encouragement. It is mixed with water to reach the perfect viscosity to flatten flawlessly across floors.
Compared to regular grout, it has superior adhesive and compressive strength properties while still allowing flexibility. Once poured, it takes only 90 minutes to set, letting you resume tiling shortly after application.
If your floor has areas lower than surrounding tile or is just uneven overall, self leveling grout can get you back on track fast.
What is Self Leveling Grout?
Self leveling grout is a type of grout used in construction that has a flowable consistency allowing it to spread evenly across uneven surfaces.
Unlike regular grout which must be worked into spaces by hand, self leveling grout can be simply poured and will flow into dips and depressions as it cures.
This makes it useful for installing floor tiles overtop floors that may have slight variances in height that prevent traditional grouts from settling evenly.

Self Leveling Materials
The fluidity of self leveling grouts comes from the inclusion of polymers such as latex along with small aggregates.
A typical formulation involves Portland cement, sand, limestone filler, and re-dispersible polymer powders combined to optimize flow properties, flexibility, and bonding ability.
Water is then added to initiate the chemical reaction that allows the mixtures to level due to gravity before hardening.
Applications of Self Leveling Grout
Self leveling grout has become popular in tile installations due to its ability to accommodate slight variances in floor levelness.
It can fill gaps between 0.5 mm to 80 mm, making it suitable for patching or resurfacing damaged or uneven substrates. Common applications include:
- Leveling concrete floors prior to installing tile
- Filling in cracks/holes in old concrete and wood subfloors
- Creating smooth surfaces on rough substrates like backerboard

Pros and Cons of Self Leveling Grout
Self leveling grout provides many advantages over traditional grouts:
Pros:
- Flows evenly over uneven surfaces for flat, smooth finished floors
- Fast drying and setting times to resume flooring installation
- Does not require extensive physical effort to spread grout
Cons:
- Higher cost than standard grouts
- Can be tricky to work with and install properly
- Limited working time before mixture begins to set
Difference between self leveling grout and Regular Grout
Here is a 10 difference listicle comparing self leveling grout vs regular grout:
- Consistency – Self leveling grout has a flowable, pourable consistency whereas regular grout has a thicker, pasty texture.
- Application Method – Self leveling grout is poured then spreads itself evenly. Regular grout must be packed into spaces manually using a float or trowel.
- Leveling Ability – Self leveling grout self-levels as it flows to fill uneven surfaces. Regular grout requires even spacing and flat substrates.
- Durability – Properly cured self leveling grout is harder and more durable than standard cement grouts.
- Flexibility – Latex-modified self leveling grouts have more flexibility and adhesion ability versus basic cement grouts.
- Working Time – Standard grout remains workable for 60-90 minutes typically. Self leveling grout starts drying in as little as 15 minutes.
- Final Appearance – Regular grout finishes with visible seams whereas self leveling grout cures to a smooth, continuous surface.
- Water Resistance – Specialized sealers are needed to make regular grouts waterproof. Many self leveling grouts are inherently water-resistant.
- Installation Effort – Applying self leveling grout requires less physical labor compared to packing dense regular grout by hand.
- Cost Differences – On average, self leveling grout costs notably more per coverage area versus basic cement grout mixes.
working with self leveling grout
How to Apply self leveling grout on Concrete
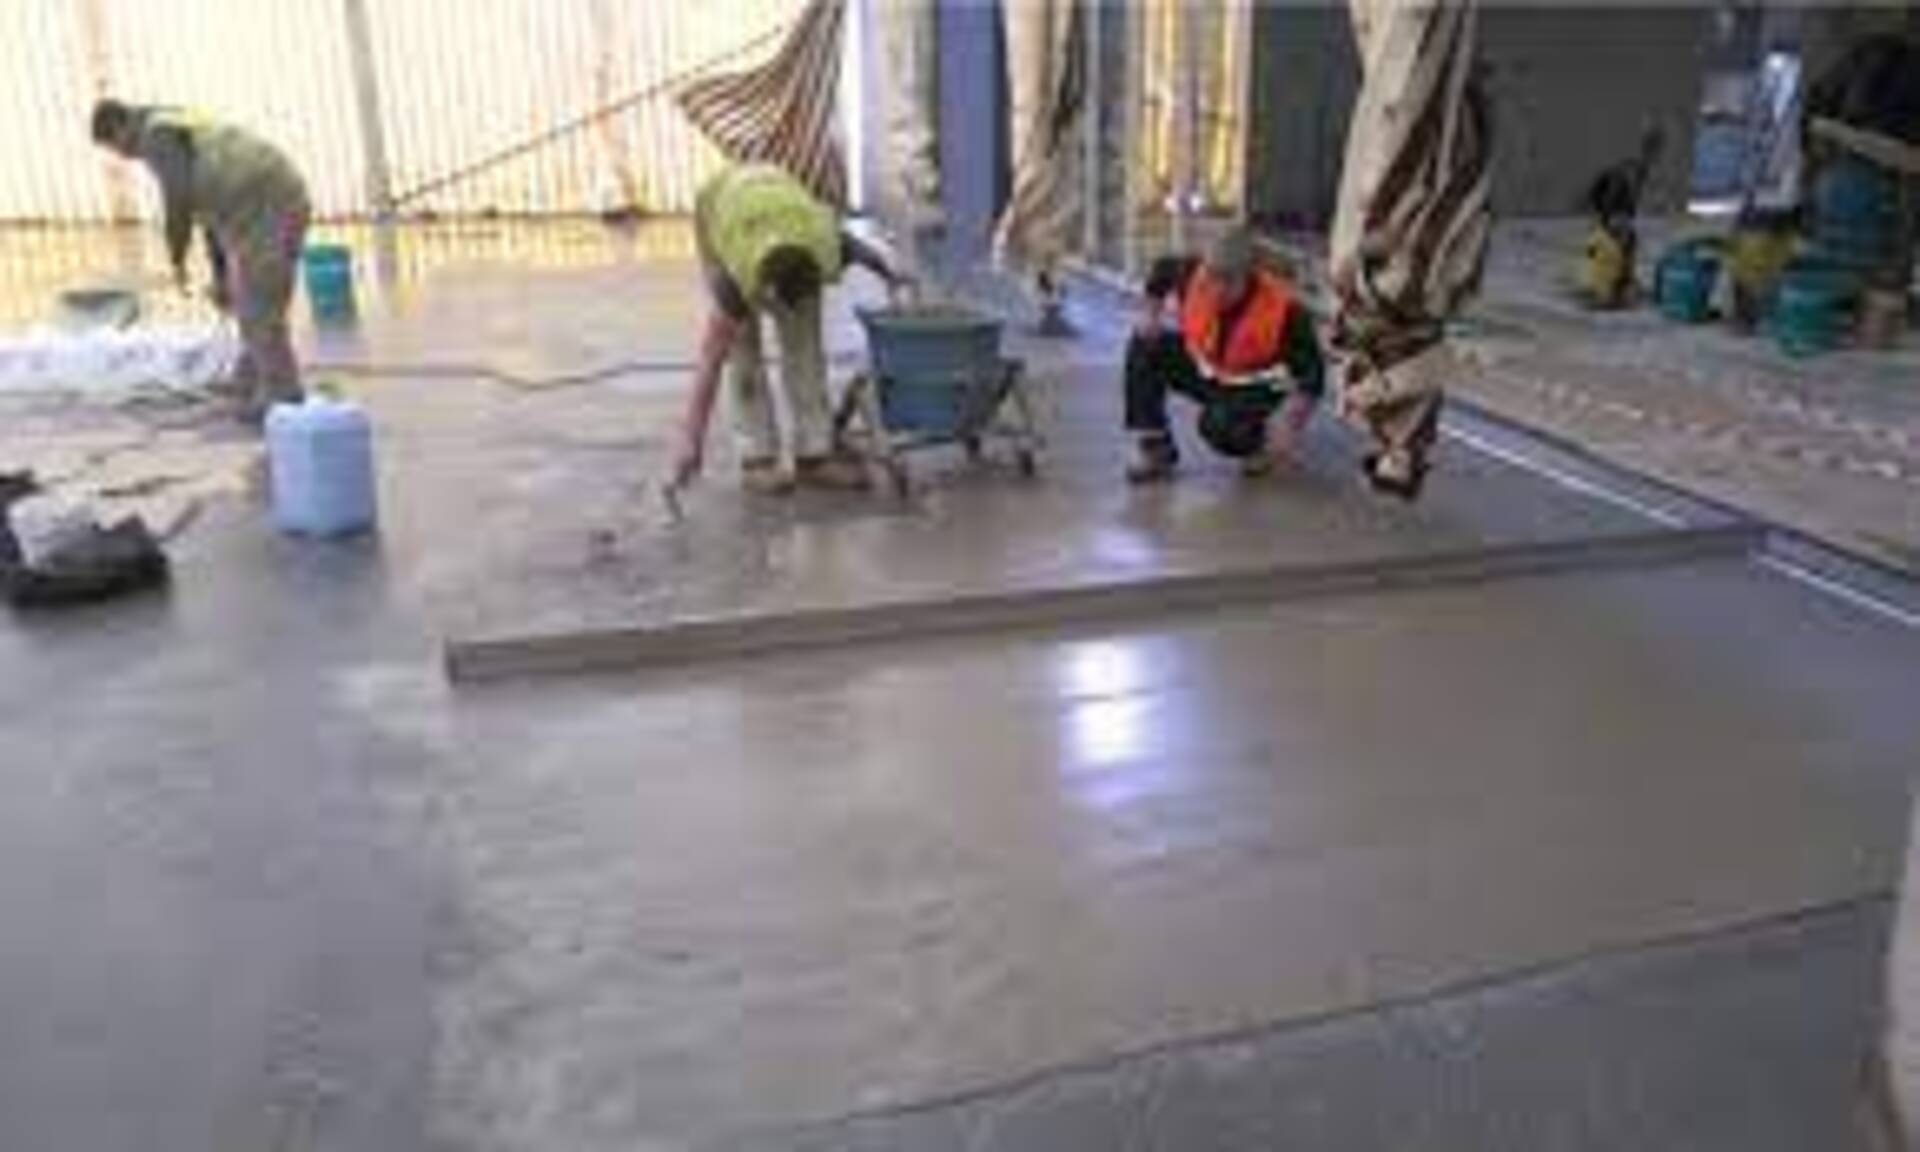
When applying self leveling grout over concrete, the substrate must be properly cleaned and prepared first via grinding or scarifying to remove any weak surfaces or bond-inhibiting substances. Following this:
- Prime the concrete using a suitable primer to improve adhesion
- Mix self leveling grout to a flowable consistency per manufacturer instructions
- Pour grout evenly over the floor, using a gauge rake to regulate thickness
- Allow to cure fully per specifications before installing floor tiles
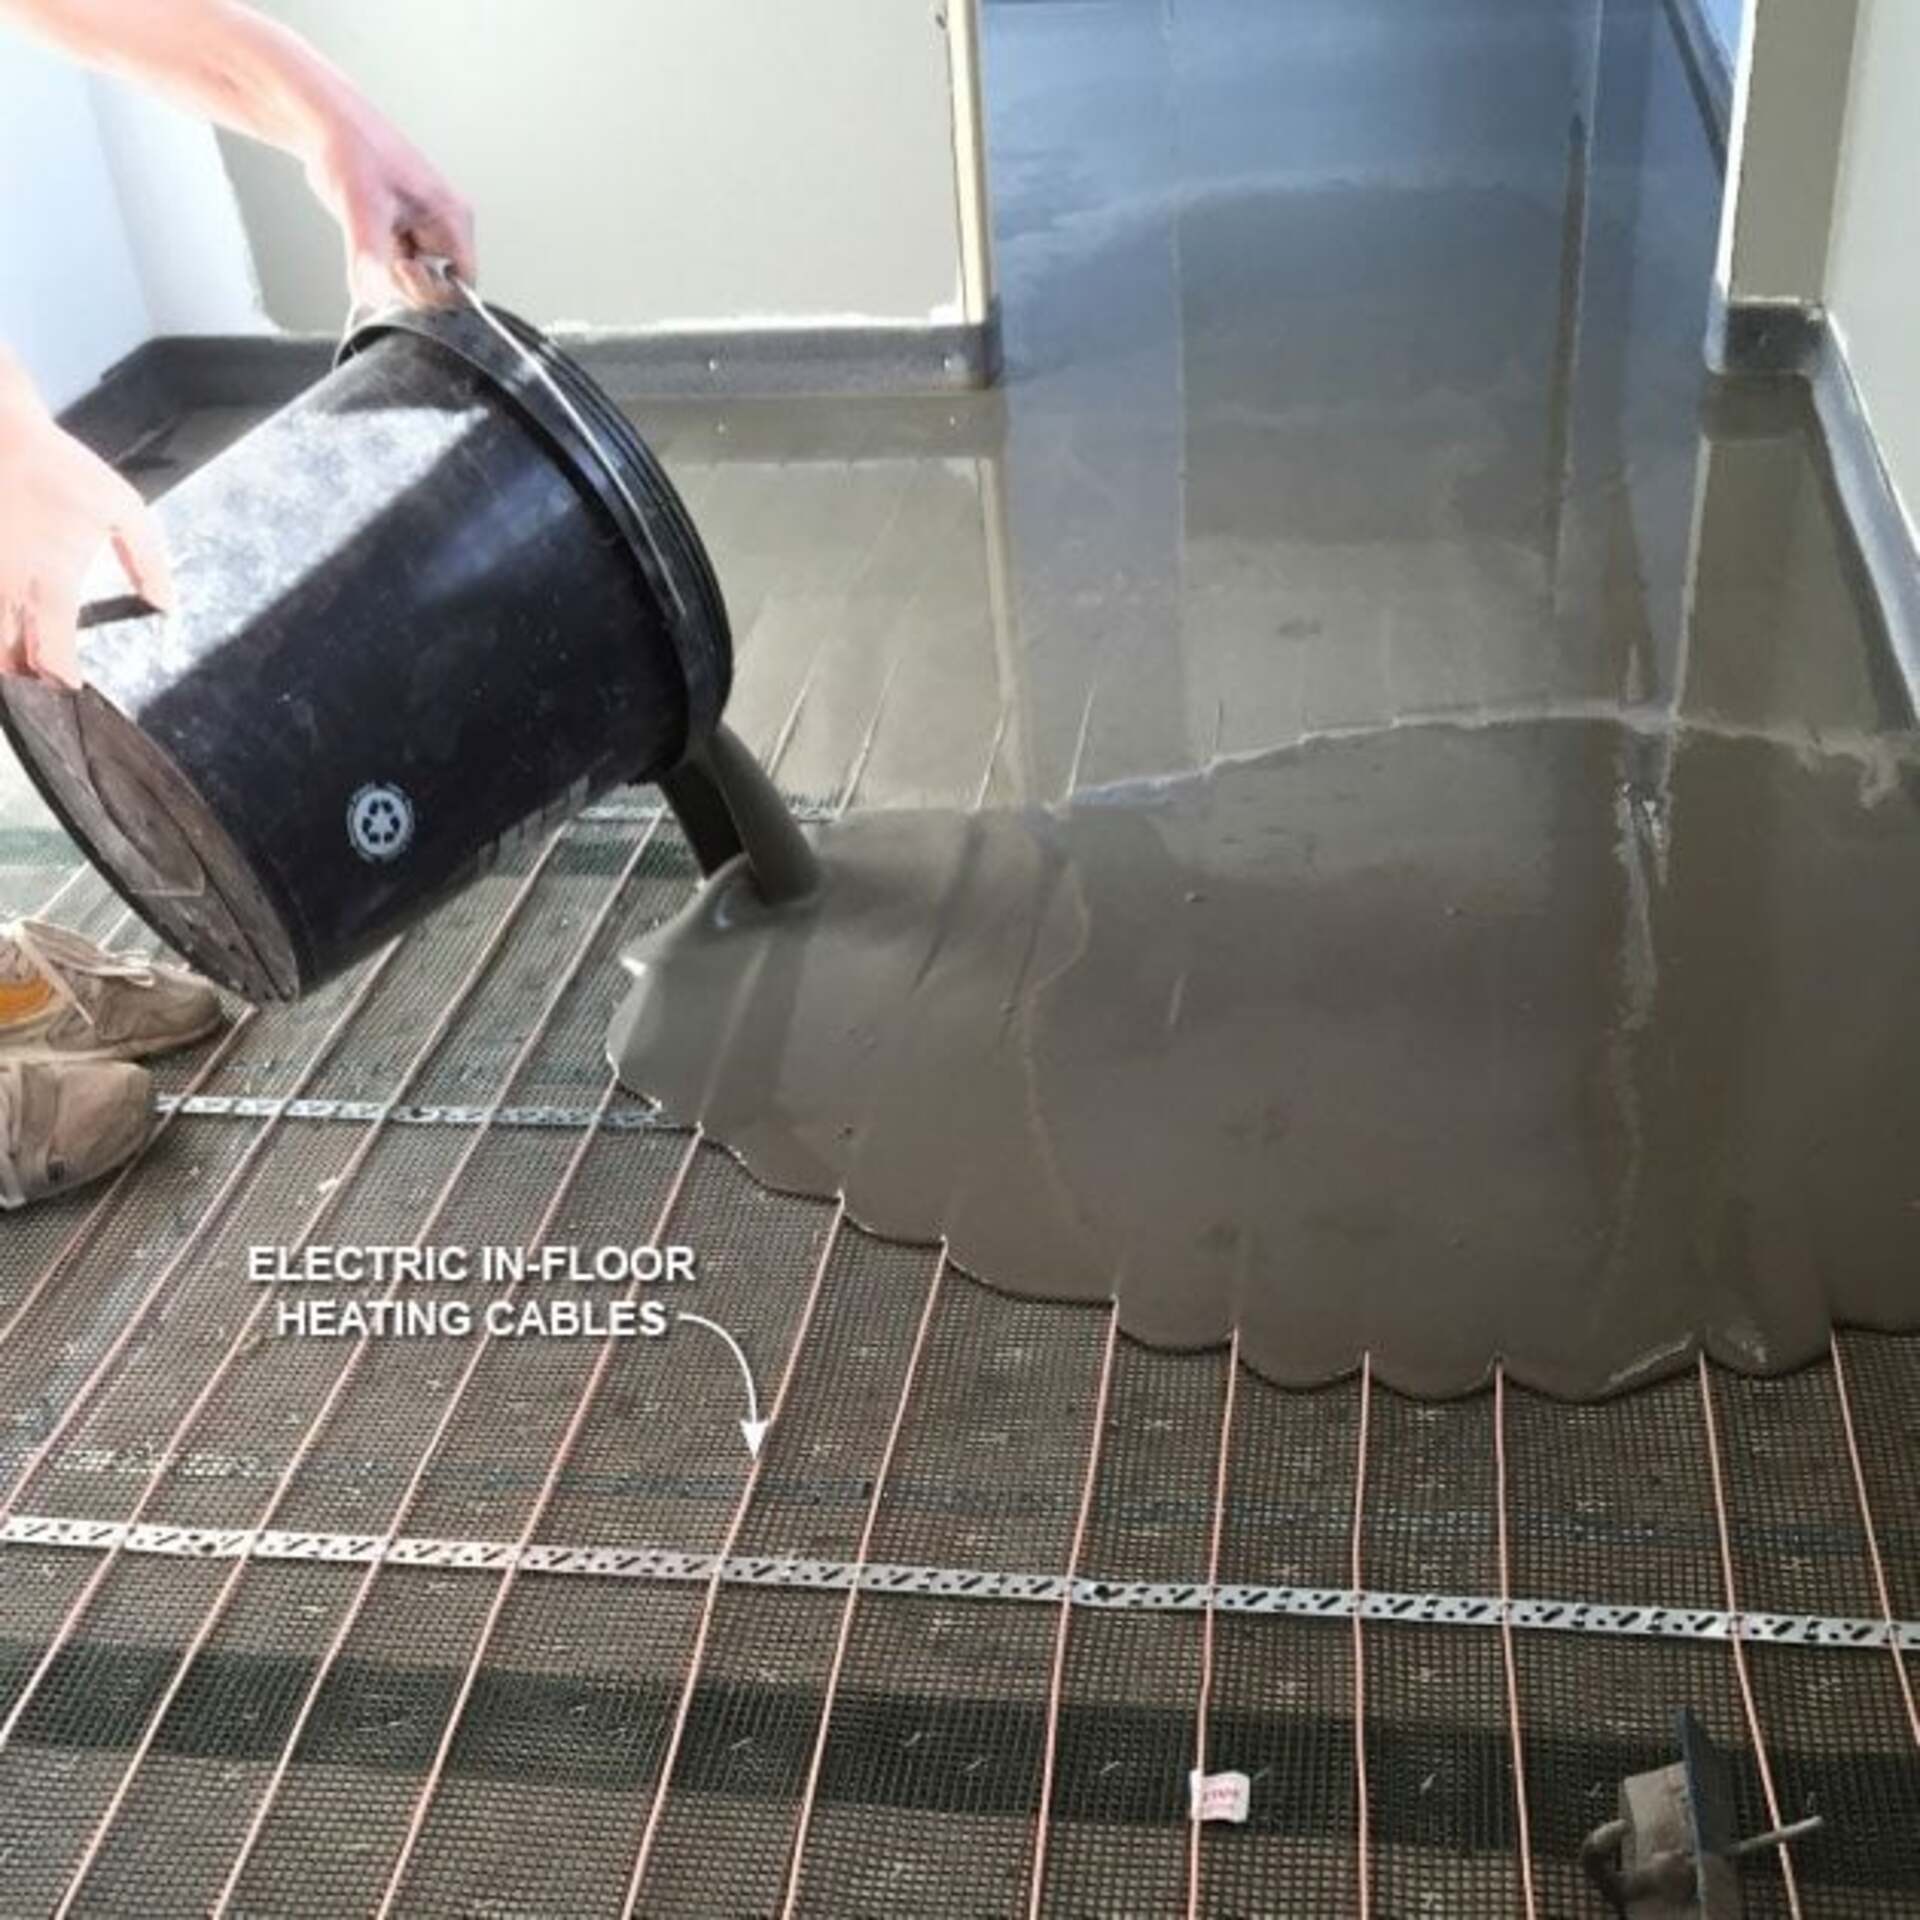
Using with Radiant Heat Systems
Self leveling grout can be used over subfloor radiant heating systems by ensuring a proper primer resin is selected to withstand heating cycles without breaking down over time.
Confirm compatibility with heat and consult installation guidelines when using self leveling grout over radiant floor heat systems.
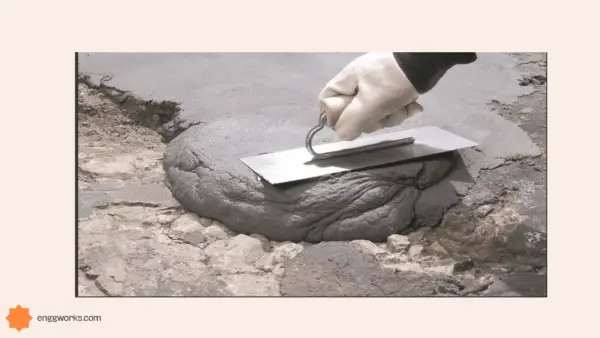
Filling Cracks in Concrete
Self leveling grout is well-suited for injecting into cracks in concrete up to 12 mm wide. To fill properly:
- Chase cracks using a diamond blade to open and prepare for filling
- Vacuum debris prior to installation
- Fill cracks by pouring sufficient amounts of grout to rise just above concrete surface
- Feather edges using a trowel for gradual transitions
Best for Large Areas
For resurfacing large surface areas, cement-based self leveling grouts provide good flow over expansive sections of flooring. Urethane formulations offer extended working times for big pours.
Confirm spread rates for projected area and slope to ensure selected product can level fully before hardening.
How Thick Should It Be Poured?
Optimal thickness for a self leveling grout pour depends on product specifications but generally falls within 6-80 mm. Maximum thickness tends to be 10-20 mm in a single pour. Excessive depths can lead to drying shrinkage, cracking or pinholing. If levels exceed 20 mm, apply in multiple passes.
Best Curing Practices
Self leveling grout cure times range between 90-180 minutes. To optimize curing:
- Maintain room temps between 10-26°C
- Restrict airflow over surface for first 6 hours
- Avoid walking over floor for 24 hours
- Allow 3-7 days to fully cure before exposure to traffic
Sealing Before & After Tiling
Self leveling grouts are not inherently waterproof. For enhanced stain protection, applying a compatible sealant prior to tiling can boost resilience and simplify cleanup.
Once tiled, sealing grout lines using an impregnating sealer adds water-repellency.
Calculating How Much is Needed
To determine volumes of self leveling grout required, measure the floor area and average depth needed to level the surface. Allow for 5-10% wastage and follow package coverage rates.
Grout calculators can also estimate approximate quantities.
Troubleshooting Improper Setting
If a self leveling grout mix fails to set properly, typical causes include incorrect water amounts, inadequate mixing, unsuitable working temps or primer issues. Confirm product specs were followed closely and remix affected sections after diamond grinding any compromised areas.
Conclusion
With practice, self leveling grout can be an invaluable asset for renovating old, uneven concrete floors in preparation for new floor coverings like tile.
Its fluidity enables efficient flattening of damaged or inconsistent substrates.
By following manufacturer guidelines for preparation, mixing, pouring and curing, installers can leverage gravity to produce smooth, flat tiled floors.


