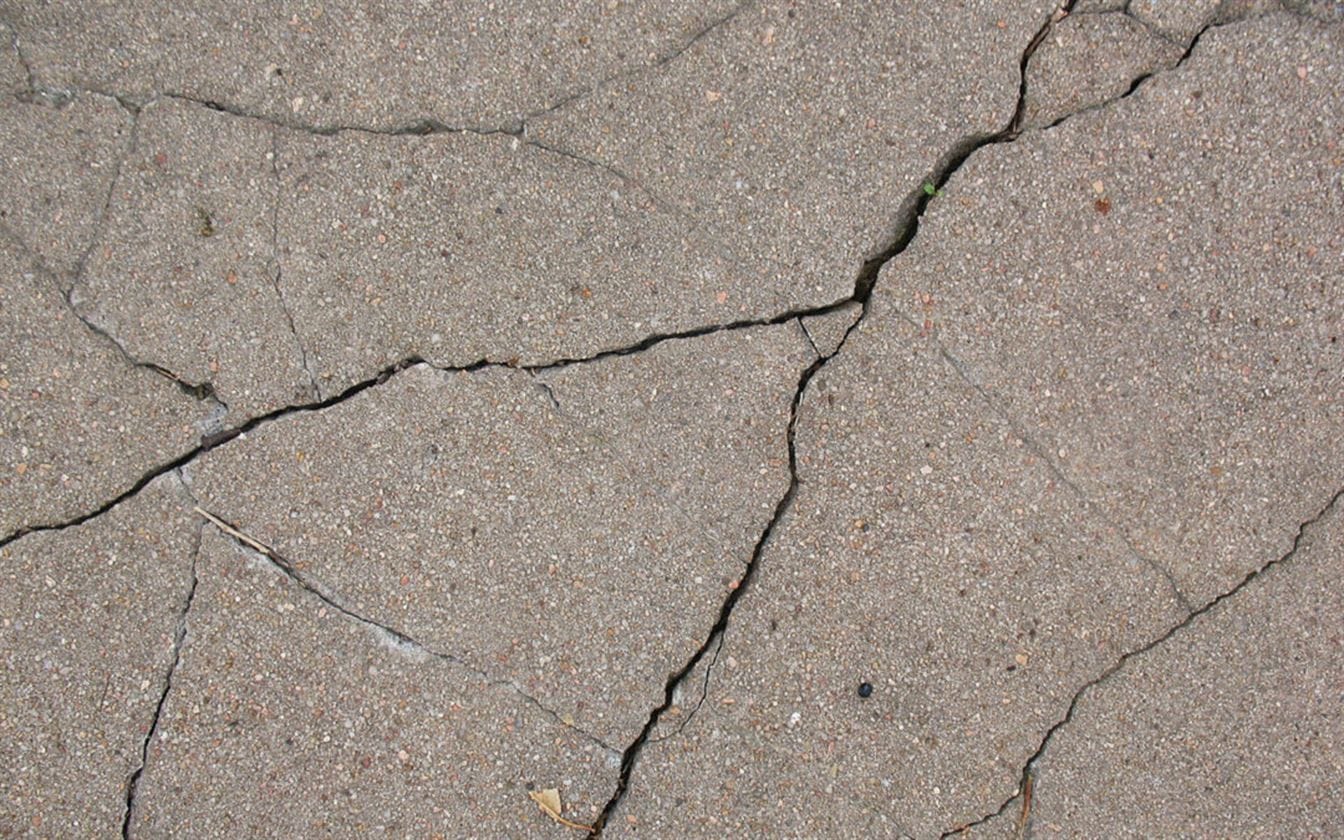
Shrinkage cracks are a common type of distress in concrete elements like slabs, walls, pavements, etc. They refer to cracks that develop in concrete due to restrained shrinkage during the hardening and curing process.
Unlike settlement cracks, shrinkage cracks are not caused by external loads or stresses. In this blog, we will understand all about shrinkage cracking – what causes them, how to identify, prevent and repair them.
What are Shrinkage Cracks in Concrete?
Concrete shrinks as it undergoes drying or curing. This reduction in volume because of moisture loss is referred to as shrinkage.
When this shrinkage is restrained internally or by boundary conditions, tensile stresses develop within the concrete. As these stresses exceed the low tensile strength of concrete, cracks begin to appear on the surface.
These cracks that form due to restrained shrinkage are known as shrinkage cracks.
Shrinkage cracks are usually shallow, straight and parallel in pattern. They can penetrate up to 25% of the concrete depth and are typically spaced 1 to 3 meters apart.
Shrinkage cracks mostly originate at the surface but can also occur inside elements with thicker sections. They tend to be uniformly distributed over the entire surface unlike settlement cracks which appear only at locations of maximum settlement.

What Causes Shrinkage Cracks in Concrete?
The major factors leading to shrinkage cracks in concrete are:
- Restraint to volume change: Concrete experiences volume reduction during drying and curing due to moisture loss. Rigid internal restraint (from aggregate interlock) or external restraint (from adjoining structures) prevents this volume change, inducing tensile stresses.
- Rapid moisture loss: High ambient temperature, low humidity, excessive wind velocity, lack of curing lead to rapid loss of moisture from fresh concrete. This causes early high shrinkage.
- High water-cement ratio: Concrete with higher water content undergoes greater shrinkage. High w/c ratio increases shrinkage cracking susceptibility.
- Improper joint detailing: Insufficient joints provision or widely spaced joints impose heavy restraints, causing shrinkage cracks in between.
- Thicker sections: Mass concrete elements undergo non-uniform drying causing differential shrinkage. The resulting stresses induce internal cracks.
- Poor construction practices: Inadequate compaction, uneven base preparation, early finishing, etc. lead to non-uniform shrinkage and cracking.
Difference Between Shrinkage Cracks and Settlement Cracks
Shrinkage cracks are often confused with settlement cracks in concrete. Some key differences between the two are:
- Cause: Shrinkage cracks occur due to volume change in concrete. Settlement cracks occur due to foundation settlement causing bending stresses.
- Pattern: Shrinkage cracks have regular pattern and spacing. Settlement cracks are wider with irregular outlines reflecting soil settlement profile.
- Location: Shrinkage cracks are distributed throughout. Settlement cracks occur at locations of maximum differential settlement.
- Time of appearance: Shrinkage cracks appear within few days after concreting. Settlement cracks take weeks or months to appear.
Proper identification of the crack type is necessary to employ appropriate repair procedures. Misinterpreting one for the other can lead to ineffective remedial solutions.
How to Prevent Shrinkage Cracks in Concrete?
Here are some guidelines to minimize shrinkage cracks in concrete:
- Reduce water-cement ratio as low as practicable to decrease shrinkage. Use water reducers if required.
- Provide sufficient construction joints at intervals not exceeding 30 feet. Install isolation/contraction joints for slabs at spacing between 2 to 4 times slab thickness.
- Ensure proper joint detailing with load transfer mechanisms and sealants. The joints must be able to accommodate movements.
- Adopt proper curing methods like ponding, membrane application, etc. especially in pavements, slabs and walls exposed to atmosphere.
- Schedule concreting to avoid excessive heat, wind or low humidity conditions. Erect wind breakers and sun shades.
- Use shrinkage-reducing admixtures in concrete mix for large surface area elements like slabs and pavements.
- Formwork should be kept longer for elements with thick sections. Remove only after sufficient concrete strength is attained.
- Ensure uniform compaction and avoid segregation. Proper base preparation and compaction is critical for slabs and pavements.
Dealing with Shrinkage Cracks in Concrete Slabs
Floor slabs and pavements are highly prone to shrinkage cracking due to their large exposed area and restraints provided by friction with base. Some guidelines for minimizing cracks are:
- Adopt a low water-cement ratio not exceeding 0.45 in slab concrete.
- Provide contraction joints at intervals not exceeding 30 times the slab thickness. Install load transfer systems like aggregate interlock or dowel bars.
- Begin curing as soon as finishing is completed. Ponding or wet covering is preferred. Apply curing compound on slabs not subjected to coverings.
- Saw cut contraction joints within 4 to 12 hours after placing concrete to relieve stresses before cracking occurs.
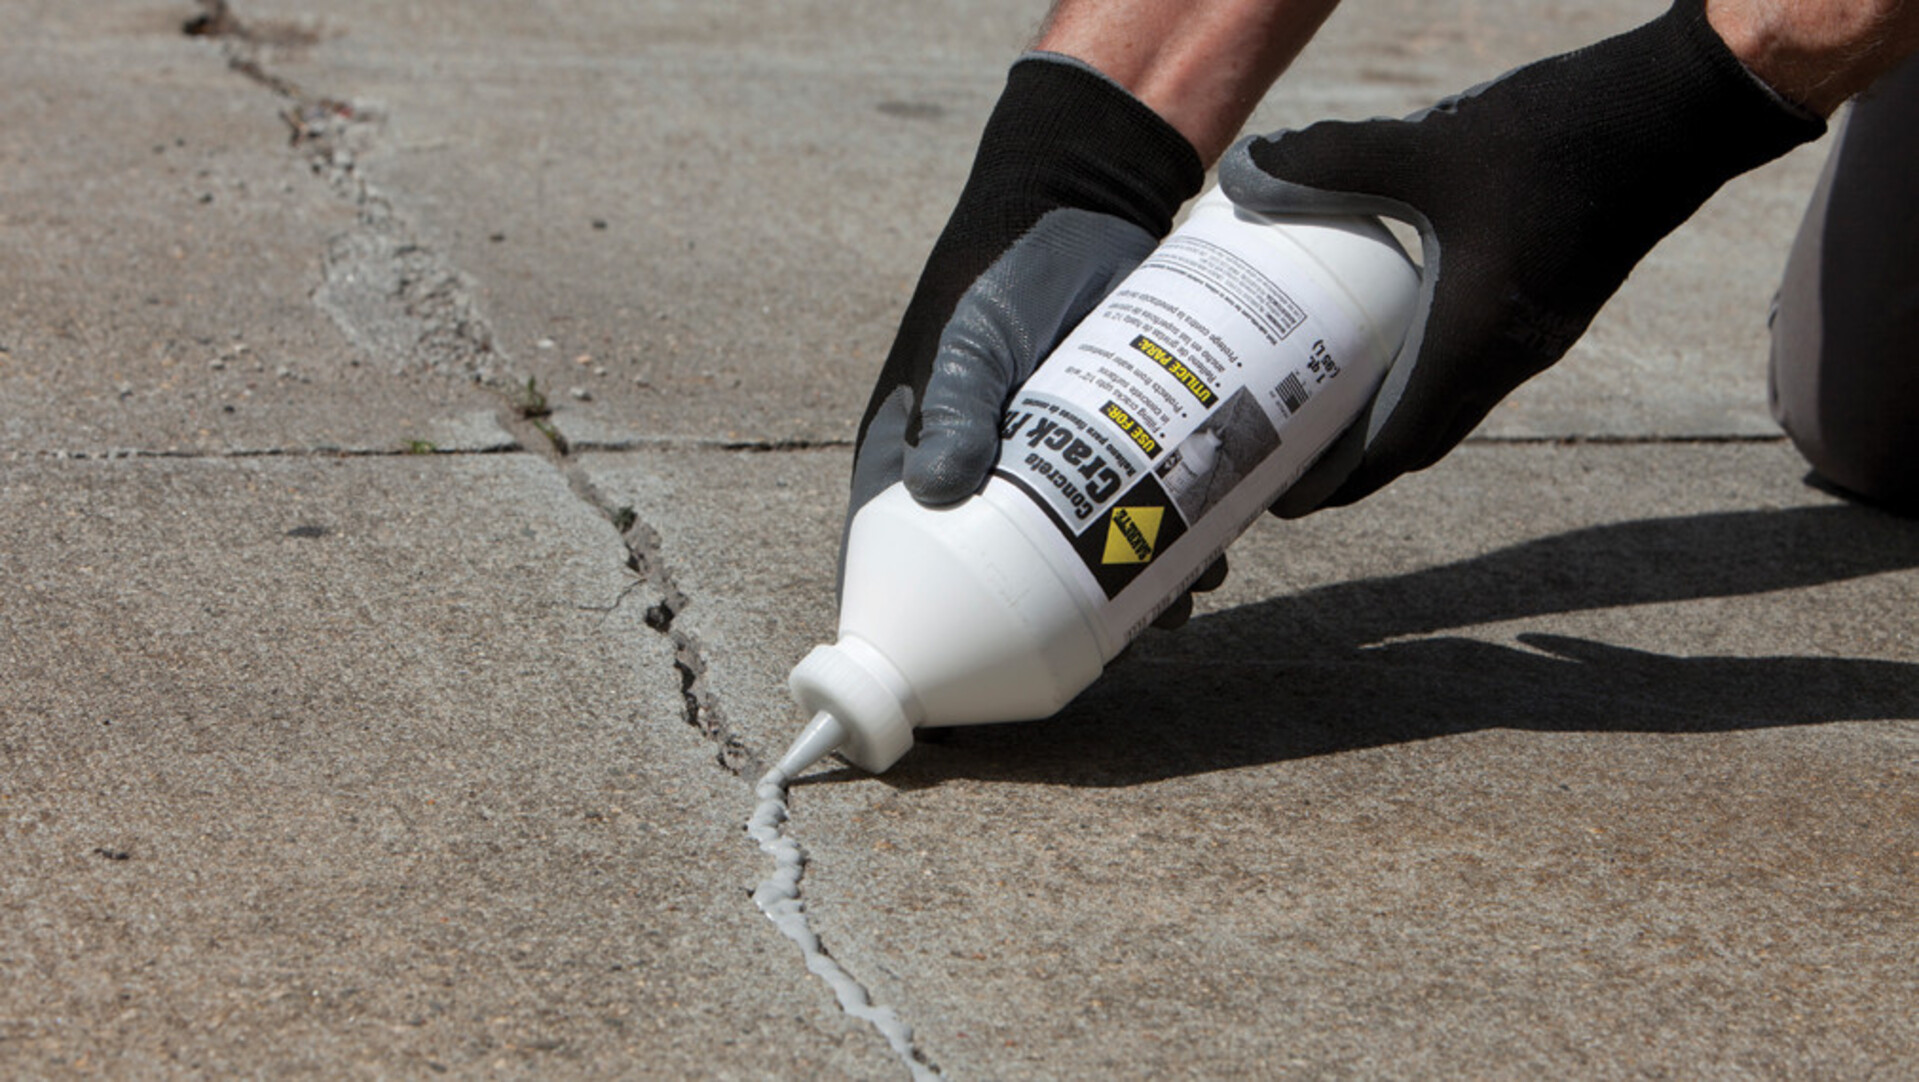
For repair, shallow shrinkage cracks in slabs can be injected with epoxy resin. Severe cracks may require measures like enlarging into grooves, sealing by rout and seal method or stitching with reinforcement.
How to Address Shrinkage Cracks in Concrete Basement Walls
Basement walls undergo drying from only one exposed side, causing differential shrinkage and high cracking tendency. Some good practices are:
- Limit concrete placement to small lifts of 2 ft height to prevent cold joints. Allow 24 hours between lifts.
- Provide horizontal and vertical control joints at close spacing between 15 to 25 ft.
- Apply exterior insulation and damp-proofing to exposed side. This delays moisture loss and drying shrinkage.
- Adopt proper curing by water ponding or wet burlap covering for at least 7 days.
- Backfill symmetrically on both sides and minimize waiting time between two side backfilling.
For repair, epoxy injection or routing and sealing can be used based on crack width. Preventing water entry is most critical.
How to Minimize Shrinkage Cracks in Concrete Paving
Some key measures to reduce cracking in concrete pavements are:
- Use concrete with low water-cement ratio not exceeding 0.45. Include shrinkage reducing admixture at manufacturer recommended dosage.
- Place contraction joints at intervals not greater than 30 times slab thickness. Include 1.5 to 2 inch thick preformed joint filler.
- Proper subgrade preparation and compaction is critical. ConstructHeaders provide restraint and must have sufficient compressive strength before paving.
- Begin curing with liquid membrane forming compound immediately after texturing. Avoid delay between finishing and curing application.
- Saw cut contraction joints within 6 hours of concreting. Joints to be cut to 25% depth of slab thickness.
- Stagger joints in double layer reinforced concrete pavements. Include load transfer mechanisms like aggregate interlock and tie bars.

How to Control Shrinkage Cracking in Concrete Countertops
For concrete countertops, some strategies are:
- Use low water-cement ratio concrete, about 0.40 to 0.45. Incorporate polymer fortified Portland cement which improves strength and ductility.
- Limit panel sizes to minimize restraint. Typically panels are limited to 8 feet length and 2 feet width.
- Provide sufficient control joints at 6-8 feet spacing. Cut joints within 24 hours using early saw-cut methods before shrinkage cracking begins.
- Ensure proper vibration for adequate consolidation. Prevent surface crazing by avoiding over-vibration and bleed water accumulation.
- Begin water curing immediately after finishing and continue for 5-7 days. Alternatively, liquid membrane curing compounds can be applied.
Controlling Shrinkage Cracking in Mass Concrete
For mass concrete elements like dams, rafts, etc. prone to thermal cracking, following methods can minimize shrinkage cracks:
- Adopt low heat cement to reduce temperature rise and associated thermal strains causing early cracking. Maintain cement content between 200-250 kg/m3.
- Keep concrete temperature at time of placement below 35°C using chilled aggregates and mixing water.
- Ensure lifts are not more than 1.5m height and limit plan area to 250 m2. Allow 14 days between lifts for heat dissipation.
- Install permanent or temporary post-cooling systems using embedded pipe grids to limit temperature differential within 50°C.
- Water curing is to be performed for at least 14 days using sprinklers, wet hessian or ponding.
Repairing Shrinkage Cracks in Concrete Walls
For shrinkage cracks in walls, some good repair techniques are:
- Route and seal method for hairline cracks – Cracks enlarged to V-shape or dovetail, cleaned and sealed with cement sand mortar or epoxy sealant.
- Epoxy injection for wider cracks – Cracks injected with low-viscosity epoxy under pressure after sealing crack surfaces.
- Stitching using reinforcement – Dowel bars grouted across cracks at close intervals to transfer tensile stresses across crack.
- Enlarging into grooves – Cracks widened into square or V-shaped grooves and filled with polymer cement mortar.
- Crack relocation – Widening crack into joint by cutting wall on one side of crack and providing waterstop. New vertical control joint introduced.
Repairing Shrinkage Cracks in Concrete Retaining Walls
Water entry through cracks can cause saturation and hydrostatic pressure build up behind retaining walls. Some methods are:
- Surface sealing wide cracks after routing using cement sand mortar or epoxy sealants.
- Drilling vertical holes at close intervals across crack and grouting using cement or chemical grouts.
- Installing weeping holes if leaks indicate water accumulation behind wall, along with surface sealing.
- Forming a new construction joint – A vertical joint introduced that intercepts the cracks by breaking out the concrete on one side.
- Providing external steel plate or RC overlay pinned to existing wall to bridge cracks.
Epoxy Injection for Repairing Shrinkage Cracks
Epoxy injection involves following steps:
- The crack is opened using a hand chisel and wire brushing to remove loose particles. Surface is sealed with epoxy paste.
- Entry and vent ports are installed at 150-300 mm spacing along the crack using adhesive or grouting.
- Low viscosity epoxy is mixed and injected through entry ports under pressure using a manual or automated dispensing system.
- Epoxy fills the crack and exits from vent ports signalling completion. Ports are sealed and surface coat applied.
Epoxy injection provides monolithic repair, restores integrity and durability. It suits hairline to wide dormant cracks. Installing entry ports is tedious in complex crack patterns.
Conclusion
Shrinkage cracking is unavoidable in concrete but can be minimized by taking necessary precautions. Proper identification of cracks, repairs at early stages and preventing water entry are essential to avoid deterioration.
With suitable mix proportioning, joint details and curing, shrinkage cracks can be controlled ensuring long term performance of concrete structures.


